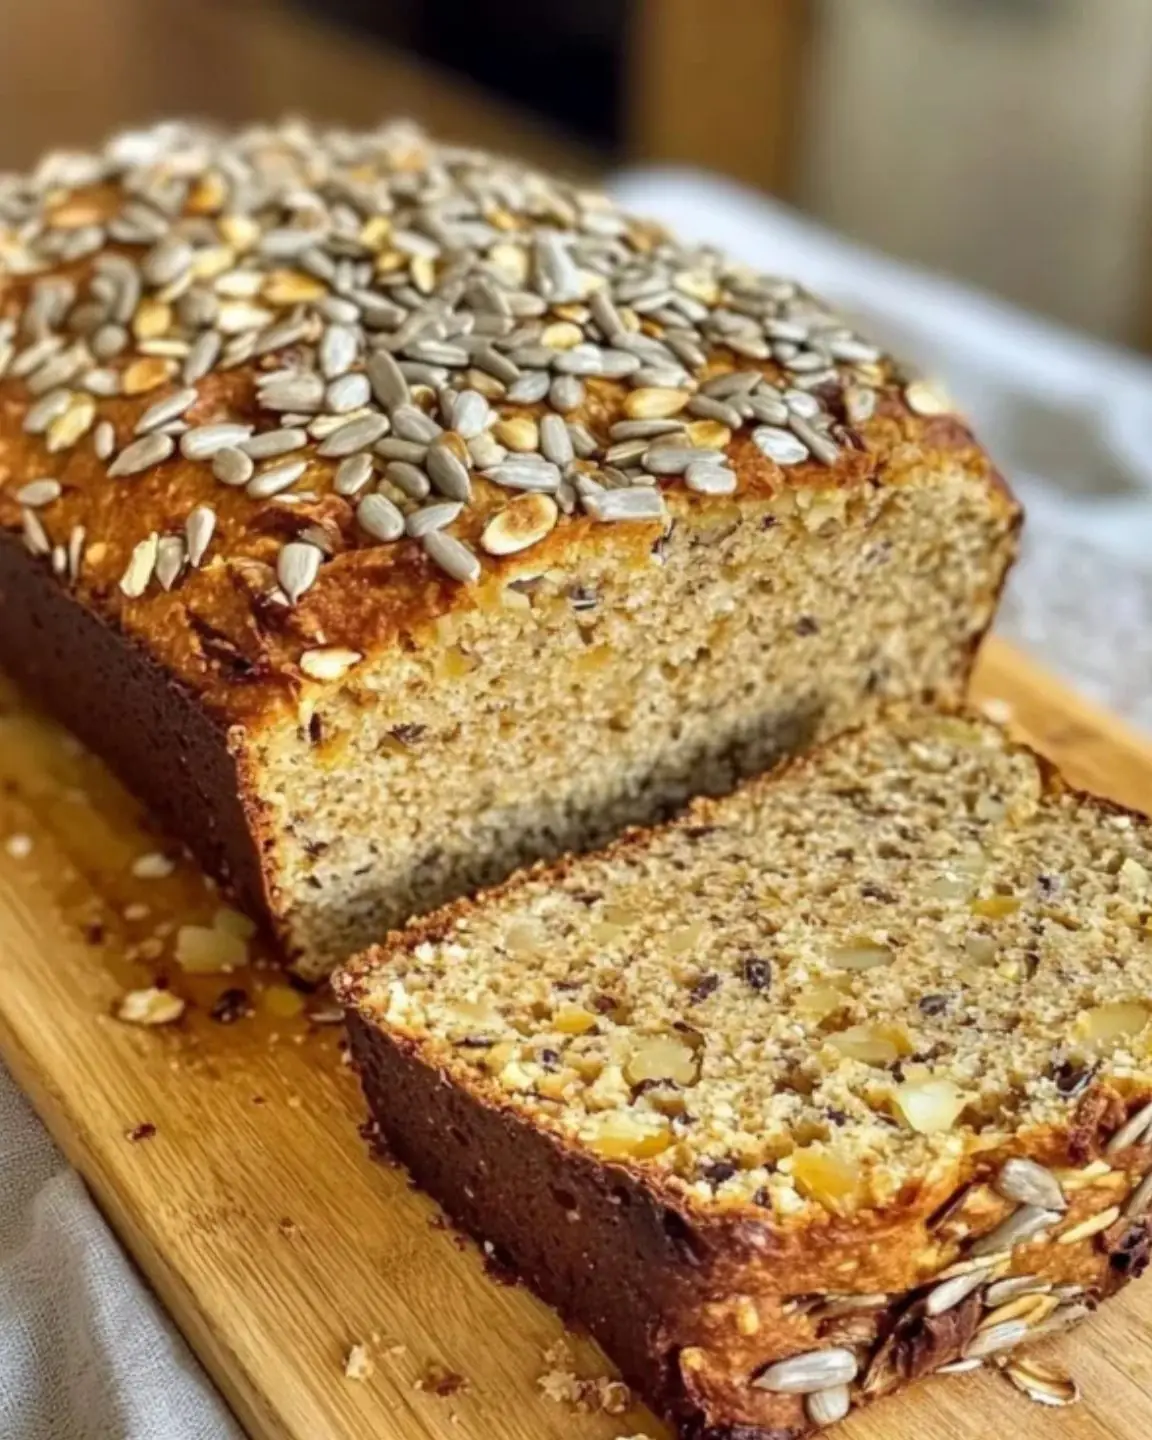
If you’re on the lookout for a healthy, easy-to-make bread recipe that’s free from gluten and flour, look no further than this Flourless Oatmeal Bread. Made with just a few basic ingredients, this bread is packed with oats, providing a hearty texture, and it’s perfect for those who want a bread option that’s naturally gluten-free and nutritious. Whether you’re following a gluten-free diet, looking to try something new, or just craving a lighter alternative to traditional bread, this recipe is one to keep on hand. I first tried making this bread on a whim when I wanted something simple and healthy for breakfast, and the result was pleasantly surprising. The texture is soft but hearty, and the bread has a slightly nutty flavor from the oats that pairs perfectly with your favorite spreads or as a base for savory sandwiches. Let’s dive into the ingredients and first steps to get this bread baking in your oven.
INGREDIENTS YOU’LL NEED:
- 2 cups rolled oats (gluten-free if needed)
- 1 ½ cups water
- 1 teaspoon baking powder
- Pinch of salt (optional)
STEP 1: PREHEAT YOUR OVEN AND PREPARE YOUR PAN Start by preheating your oven to 350°F (175°C). While the oven is heating, grease a small loaf pan or line it with parchment paper. This ensures the bread comes out easily once it’s done baking. A parchment liner also helps keep the sides of the bread from sticking to the pan.
STEP 2: PULSE THE OATS In a blender or food processor, pulse the rolled oats until they transform into a fine flour-like consistency. The texture should resemble whole wheat flour, but if you prefer a slightly chunkier bread, you can leave the oats a little more coarse. This step is crucial to achieving that bread-like consistency without the use of traditional flour.
STEP 3: MIX THE INGREDIENTS Once the oats are pulsed into flour, add the water, baking powder, and a pinch of salt (if you’re using it) to the blender or food processor. Mix everything until well combined, creating a smooth batter. The batter will be thick, but it should pour easily from the blender. If you find the batter too thick, you can add a little more water to loosen it up. BAKE, COOL, AND ENJOY YOUR FLOURLESS OATMEAL BREAD Now that your batter is mixed and ready, it’s time to get it into the oven and let it bake to perfection. With only a few ingredients, this bread will rise gently as it bakes, turning golden brown on top with a soft, hearty interior. The best part? It’s quick and requires no complicated techniques, making it perfect for busy mornings or a healthy snack. Let’s walk through the final steps of baking and cooling your Flourless Oatmeal Bread.
STEP 4: POUR THE BATTER INTO THE LOAF PAN Pour the prepared batter into your greased or lined loaf pan. Use a spatula to spread it out evenly, making sure the batter reaches all corners of the pan. The batter should fill the pan about halfway, so if you’re using a small loaf pan, it might look a little thick. That’s okay—it will rise just a bit as it bakes.
STEP 5: BAKE UNTIL GOLDEN AND FIRM Place the loaf pan in the preheated oven and bake for 30 to 35 minutes. You’ll know the bread is done when the top is golden and the bread feels firm to the touch. You can also insert a toothpick into the center—if it comes out clean, your bread is ready. The baking time can vary slightly depending on your oven, so keep an eye on it as it bakes. The bread should have a slight golden crust and a soft, hearty texture inside.
STEP 6: COOL IN THE PAN Once your Flourless Oatmeal Bread is baked, let it cool in the pan for about 10 minutes. This short resting time helps the bread set and makes it easier to remove from the pan without falling apart. After 10 minutes, transfer the bread to a wire rack to cool completely. This helps air circulate around the bread and prevents it from becoming soggy.
STEP 7: SLICE AND ENJOY Once the bread has cooled completely, it’s time to slice and enjoy! The bread should be easy to slice into thick or thin pieces, depending on your preference. This Flourless Oatmeal Bread is perfect on its own, toasted with a bit of butter, or served with your favorite jam or nut butter. It’s also an excellent base for a savory sandwich or as a hearty side with soups and salads.
TIPS FOR SUCCESS:
- Let the bread cool completely before slicing to help it set properly. It will slice more cleanly once fully cooled.
- Store leftovers in an airtight container at room temperature for up to 3 days. You can also refrigerate it to keep it fresh longer.
- Customize the bread by adding cinnamon, raisins, or chopped nuts to the batter for extra flavor and texture.
- Freeze for later: You can freeze slices of bread for up to 2 months. Just wrap them tightly in plastic wrap or foil, and thaw as needed.